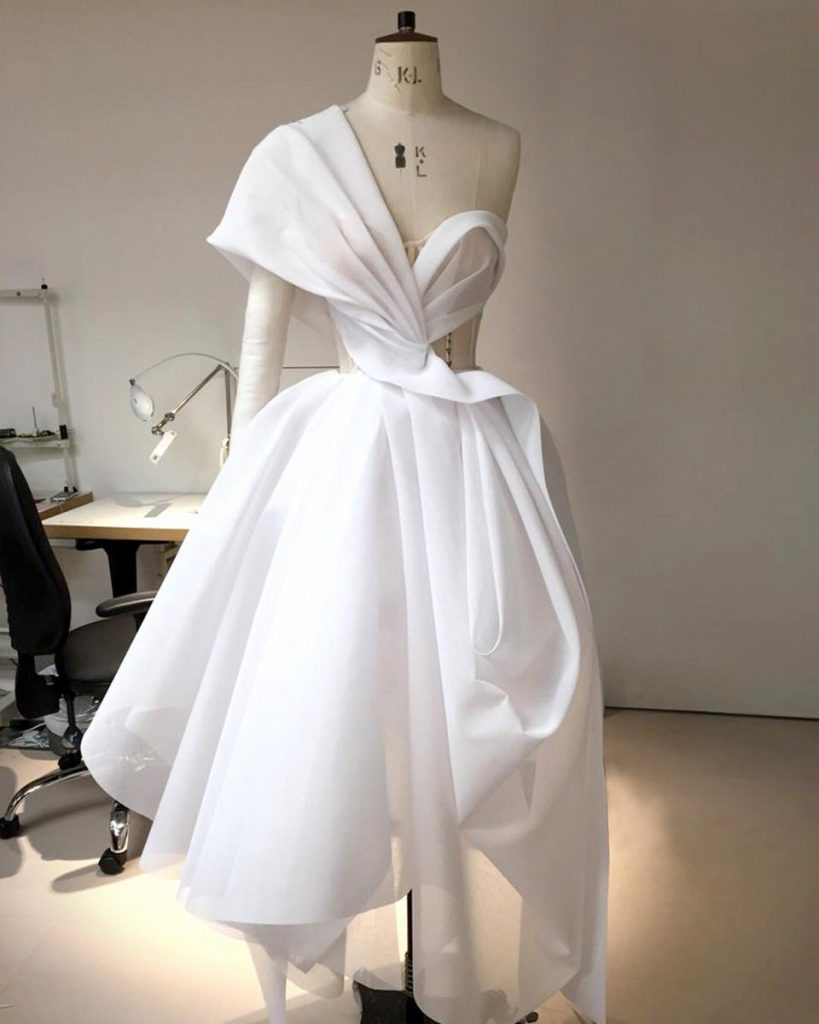
If you’re a bit new to using sewing patterns and you want to understand fit, this short article will get you pointed in the right direction.
First, lets discuss terms. There are three main topics any beginner wants to know about when tackling fit. First is grading-or the act of adjusting sections of the pattern to fit areas of your body. Second is the toile– a French word that essentially means making a mock-up using inexpensive fabric. Third is drafting adjustments like moving darts or adding ease. We won’t cover drafting in this article, purely because it is basically an entire book’s worth of information, but we will discuss grading and toiles.

Toiles are mock-ups of your garment, often made of calico or muslin. This provides an opportunity to check the fit of your garment and make adjustments to the pattern before re-cutting the pattern on a more expensive or beloved fabric. It may be tempting not to take this extra step, but having wasted hundreds, if not thousands of dollars of good fabric, assuming I could get the right fit in the first shot, I strongly advise that you make one and learn to enjoy this part of the process, rather than view it as an annoyance. After all, there is nothing annoying about a garment that fits you like a glove!
To make a toile, first purchase calico, muslin, or thrift some bed sheets. It is most important that your fabric vaguely resembles the type of fabric that will be used on the final garment, or that you have enough experience to take the difference between the toile fabric and your final fabric into consideration when assessing fit. Cut your pattern out and assemble the portions of the pattern that need to be fit-checked. You are not required to put finishing touches on a toile. It is purely to assess fit. So, for example, if you are making a collared shirt pattern, you do not have to attach the collar in order to check fit (unless, for some reason, you are specifically worried about that particular fit). If say, however, you were new to sewing collars, a toile is a great opportunity to learn a new skill and do a full dry run of a tricky or advanced pattern. In that case, you may want to make a full toile.
There are specific things you want to look for when fitting a toile. Is the bust too tight or loose? You might need to make a bust adjustment. Is it too wide at the waist? Sometimes back darts or grading into smaller sizes at the waist (more below) can take care of this problem. Shoulders too tight? There’s an adjustment for that, too! Take note of anywhere the fit isn’t working. Sometimes you need an advanced solution to fitting problems, but sometimes the answer is to pinch and pin at the seam lines a little bit til the fit is where you want.
The term grading refers to the creation of multiple sizes of a pattern, but is also used to describe the act of cutting the pattern to incorporate portions of multiple sizes. For example- I have a 35 inch bust, 24 inch waist, and a 38 inch low hip. I cannot simply cut a size 4. I must either cut a size 4 and do a full bust adjustment, grade at the hips and do a full butt adjustment (my preferred method), or I can check the pattern size chart and determine that I want to cut a size 6 up top, blend that into a size 4 waist, and a size 8 hip. The latter method does not always work, especially if your measurements are drastically different sizes (more than three sizes apart).
There is no official way to grade between patterns. You must blend the lines across sizes at key points (over the bust, waist and hips), and gradually taper, in order to prevent strange outcomes. Having a french curve is very helpful for blending lines that aren’t perfectly straight.
One more thing you can do to modify pattern fit is to anticipate or measure out what additional length or what shortening may be necessary to make the pattern fit your stature. Patterns usually have lines that indicate where one may lengthen or shorten to improve fit. You will have to “true” the pattern after adjusting the length. That means you must marry the lines together along the hypothetical trajectory the line would take if the pattern were drafted for a taller individual. I am just shy of 5’10” and this was one of the first adjustments I ever made to my patterns. Most patterns are drafted for a woman between 5’4″ and 5’6″, so I would invariably end up adding several inches to the pattern at one or more locations, in order to get the right fit.
These are some small changes you can make to a pattern that will help create a better fit. Learning how to re-draft parts of your pattern is ultimately a worthwhile endeavor and will be covered in later posts, but hopefully now you have a grasp on small adjustments that can be made to you pattern to improve fit on the fly!

Leave a Reply
You must be logged in to post a comment.