Have you ever had something, like, you know…. not fit? I’m sure you have. It is a big reason why people start sewing in the first place! Every body is totally unique, and modern RTW sizing cannot account for people like me. So, sewing it was!
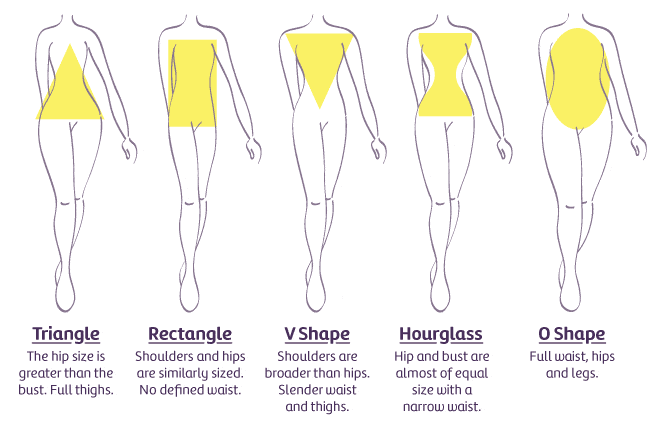
As experienced seam rippers may know, sewing doesn’t hold all the fit answers, either. Sewing from a pattern doesn’t ensure a good fit by default. As you sew, you learn things about yourself. On any given pattern, I have to make a Full Bust Adjustment, take in the waist, broaden the shoulders, narrow any band size, increase the width between cups, make a Full Bum Adjustment, widen the thighs, lengthen the legs, lengthen the arms, and so on and so forth. It is non-trivial to get a perfect fit. However, it is incredibly worthwhile.
So how is it done? Where do you start? You start with the almighty toile (the French word for “mock up”). Usually made out of muslin or bedsheets, the toile is your test run. You make the pattern first in a cheap fabric, to ensure that fit is perfect before cutting into your precious fashion fabric.
Here are some pro tips for adjusting your pattern from a toile:
- Take accurate body measurements: Measure your bust, waist, and hip circumference, as well as your back waist length, shoulder width, and arm length. Compare your measurements to the size chart on the pattern envelope to determine the size you need.
- Adjust the pattern: If you are between sizes, choose the larger size and make adjustments as needed. To adjust the pattern, you can do one or more of the following:
- Grading: Gradually increase or decrease the size of the pattern from one size to another. For example, if your waist is a size larger than your bust, you can grade the pattern from a size larger at the waist to a size smaller at the bust.
- Slash and spread: Cut the pattern along a designated line and spread it apart to add width to the garment. Alternatively, overlap the cut edges to reduce width. This method is useful for adjusting the waist, hips, or bust.
- Pivot and slide: Cut the pattern along a designated line and pivot or slide the pieces to add or reduce length or width. This method is useful for adjusting the length of the bodice or sleeves.
- Make a muslin: Sew a test garment using inexpensive fabric or muslin to test the fit of the adjusted pattern. Try the muslin on, make any necessary adjustments, and mark the changes directly onto the fabric.
- Transfer changes to the pattern: Use the markings on the muslin to adjust the pattern pieces. Make any necessary changes to the pattern, such as re-drawing seams or re-positioning darts.
- Cut and sew the final garment: Use the adjusted pattern to cut the final garment and sew it according to the pattern instructions.
It’s important to note that resizing a sewing pattern can be a complex process, especially for more complex patterns or if you have a unique body shape. Don’t be afraid to ask for help. There are a lot of great fitting resources, such as r/sewing, r/abrathatfits, sewing.patternreview.com, and the entire tome of Threads Magazine which is now digitized and available online!
Leave a Reply
You must be logged in to post a comment.